31 July 2026
Recessed Balconies in Timber Frame Homes: Why to Consider Them Early
By Scott Hunter, Director of Planning & Building Regulation
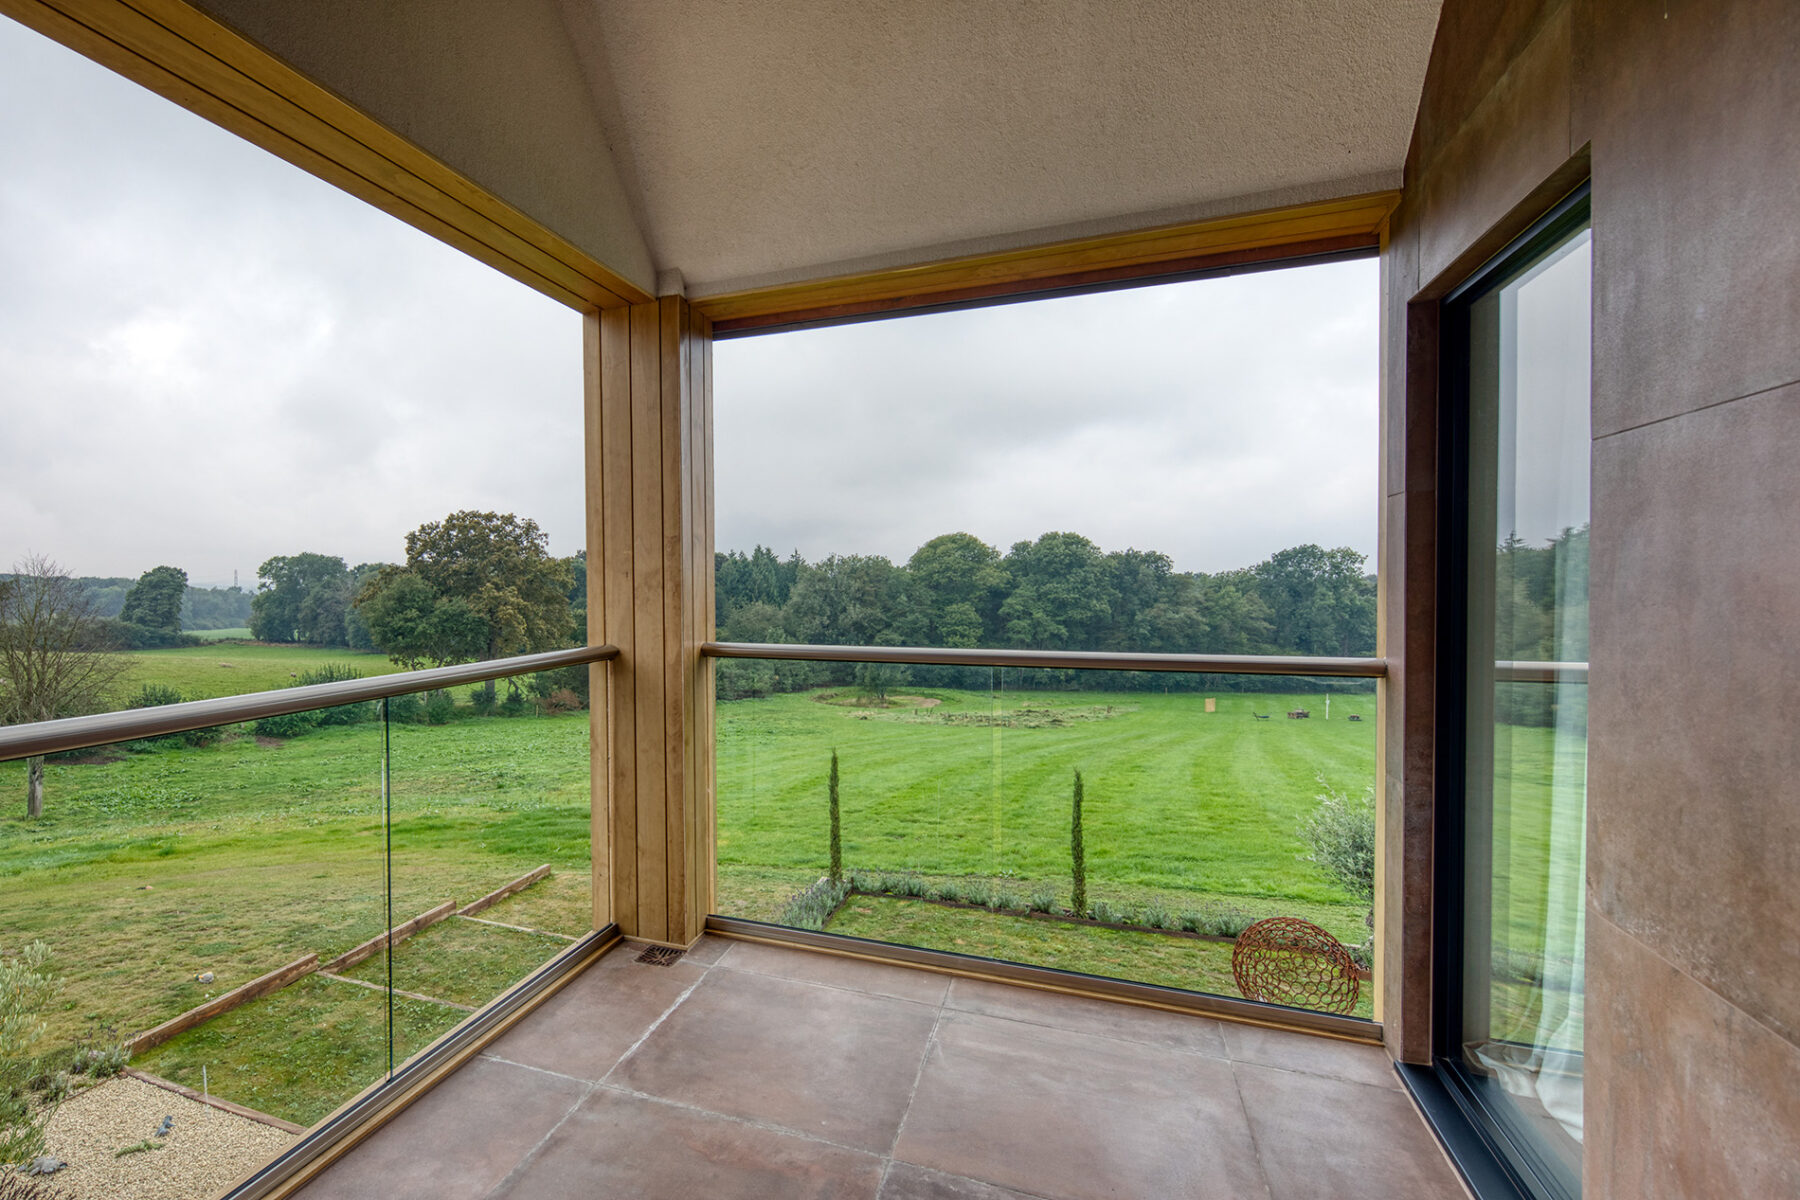
For anyone who has thought of building their own home, I am sure that, like me, at some point you will have imagined how good it would feel to walk out of your bedroom or living room onto your recessed balcony and enjoy a cup of coffee whilst taking in the views.
This is a design feature we often see, but at times it has not been fully considered in terms of how it will work in practice. I am going to walk you through what to discuss with your designer when incorporating a recessed balcony.
When you have a recessed balcony, it effectively becomes a flat roof over the ground-floor room it is built over. There are two forms of flat roof construction: a cold roof and a warm roof. A warm roof is where the insulation is above the structural deck; a cold roof is where the insulation is below the structural deck between the rafters. With a cold roof, you would be required to provide ventilation above the insulation layer at either side of the roof, which can be difficult with the roof abutting the main wall. With a warm roof, the construction method reduces the risk of condensation, improves thermal performance, and is generally the preferred approach.
One of the details that is often overlooked with a warm-roof balcony is the build-up of materials. The insulation used in the warm roof could be anywhere from 150mm to 200mm thick, and as it sits on top of the rafter, this increases the overall depth. You also have to factor in your firring strip, which is an angled timber to shed the water from the balcony, your waterproofing method and your balcony finish.
The expectation is often that the balcony floor level and the house floor level will be the same, but this is rarely true in practice. With the insulation build-up noted above, you often end up stepping up on to your balcony. This isn’t a problem, but you need to factor it in with the patio door design to ensure it is sized correctly. One way to reduce the need for a step up to the balcony is to fit a different sized rafter to the balcony area. For example, your floor joist may be 304mm deep; you could reduce the balcony to 195mm deep, which would help limit the step. The other option is to have a stepped ceiling in the room below, where the joists to the balcony are set at a lower ceiling height to take account of the material build-up. Both options can easily be achieved, but they need to be thought of and discussed early to ensure your expectations are being met.
I touched briefly on waterproofing above. This is another major consideration when introducing a recessed balcony. Your designer needs to think about how the waterproofing layer will be installed to prevent any water ingress into the roof below. Generally, you want your waterproofing layer to be set around 75mm below the door threshold to prevent any wind-driven rain or water splashback entering the house. If you were going for a level finish throughout, you would introduce a drainage channel at the door threshold to ensure the water cannot enter the building.
The final part that needs to be considered is the balcony’s floor finish. Will this be timber decking, floor tiles or GRP (glass reinforced plastic)? All serve their purpose, but they differ greatly in weight. The weight needs to be considered in the structural design of your house, so having an idea of the finish you want and sharing this with your designer can ensure that the structure below is suitably designed.
Recessed balconies can be a great addition to any new home, and when considered properly from the outset, you should be enjoying your morning cup of coffee with a view in no time.
If a recessed balcony is part of your plans, the ideal moment to raise it is at the design stage, while every option is still on the table. Start your design brief or get in touch to explore what will work for your plot and your budget.